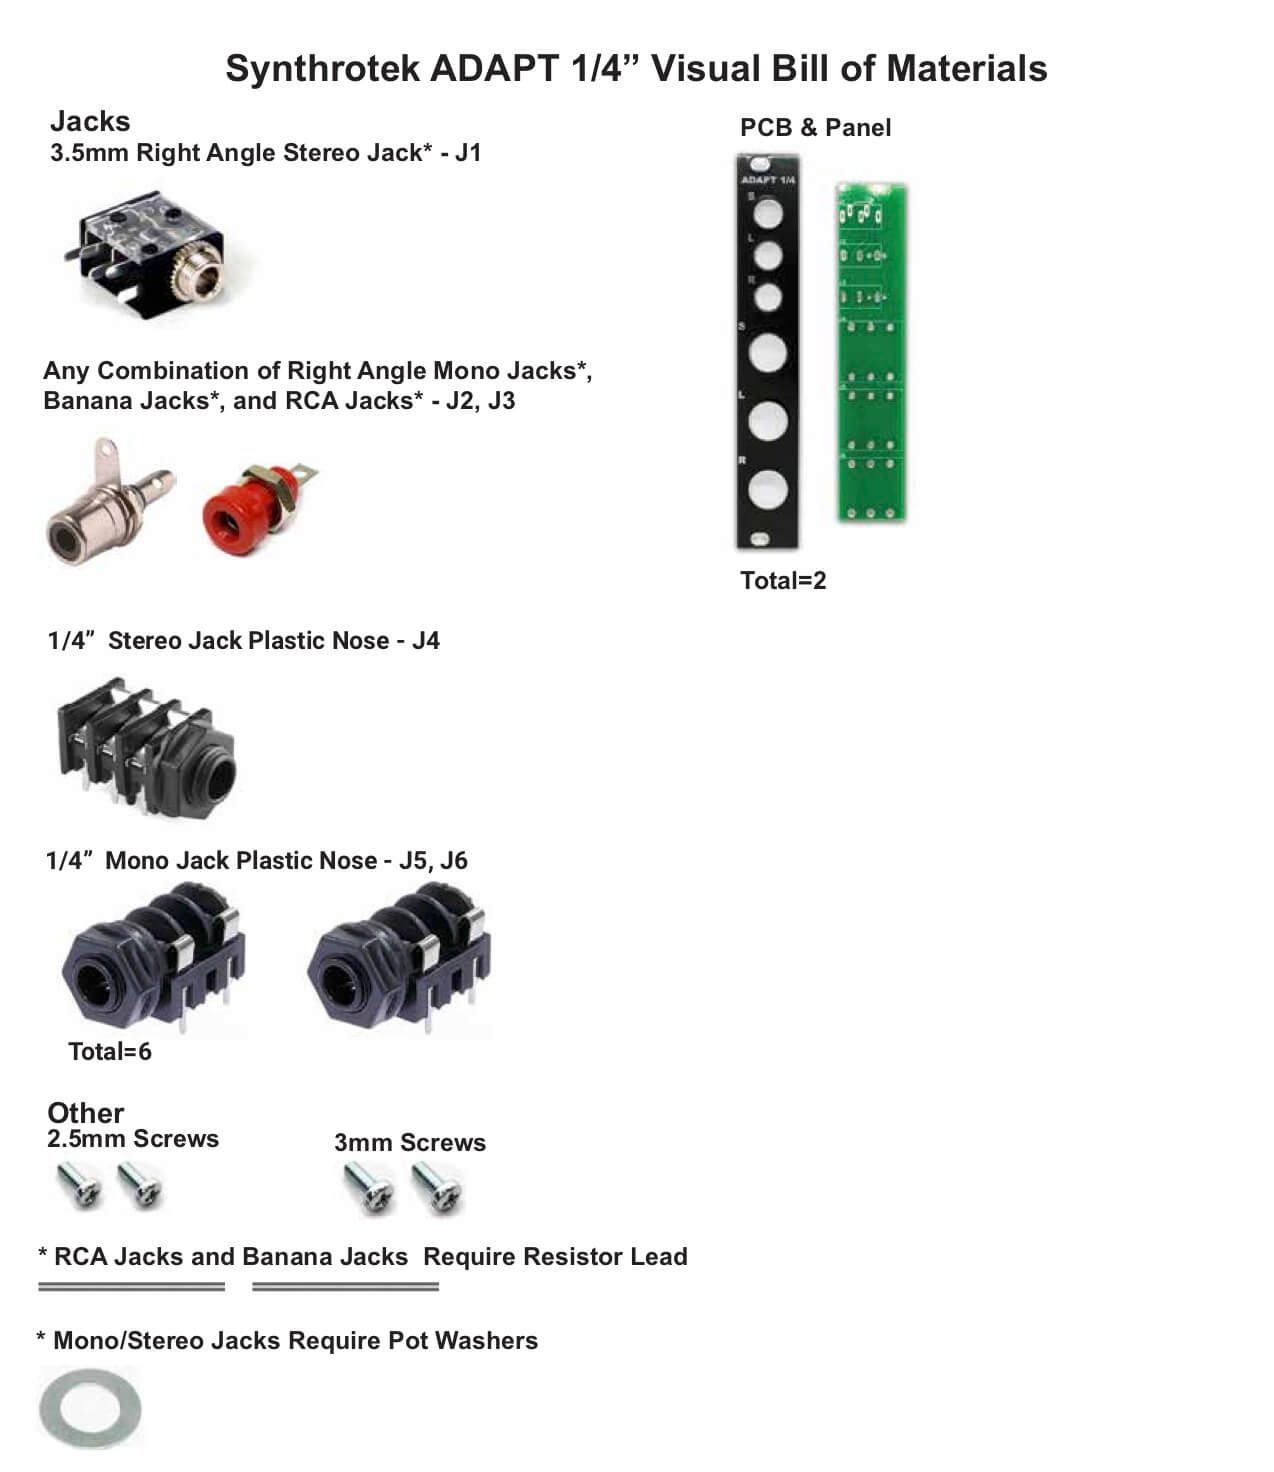
Thank you for purchasing the Synthrotek ADAPT 1/4 kit! This is an intermediate build. It is very important to get all the components properly soldered into the PCB in the correct placement. If you feel like you can handle it, please proceed! If not, get some help from a friend with experience or purchase a fully completed unit.
Please build according to the BOM, and not these instructions or the pictures alone. Some components may have changed since these were written, or we may not be able to get the exact looking components in the pictures.
For a BOM with Mouser Part numbers, click here.
1/4 Jacks
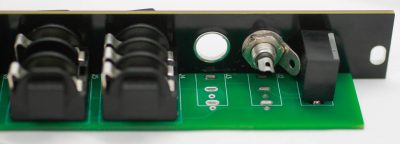
Place the 1/4″ jacks int he PCB as shown below. Make sure that the Stereo Jack is nearest to the 3.5mm jacks.
Use the panel to make sure that you have aligned the jacks in properly. Turn over and solder.
3.5mm Jacks
The ADAPT 1/4″ uses a stereo 3.5mm jack for the top jack. You can use 3.5mm mono, banana or RCA jacks. If you are using 3.5mm jacks, place the jacks in FIRST, then add the panel for proper alignment. Secure the 1/4″ jack nuts and turn over to solder. Wait to populate the banana or RCA jacks until your project looks like the photo below.
Optional RCA Jacks
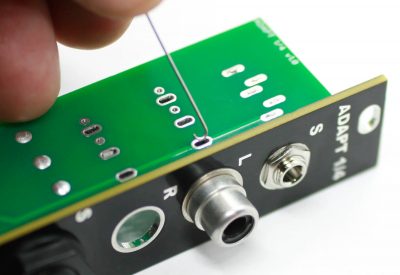
Take your RCA jack(s) and place it in the panel as shown below
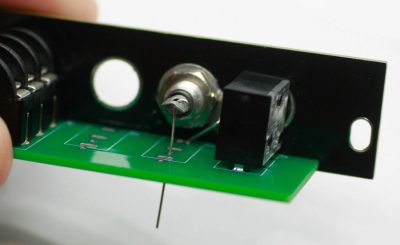
With the provided resistor leg clippings, make a small hook and thread it through the pad shown below.
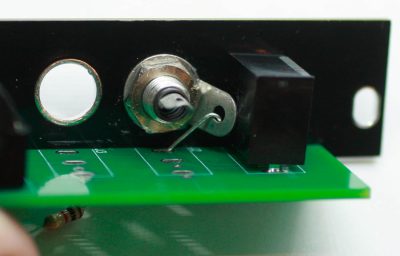
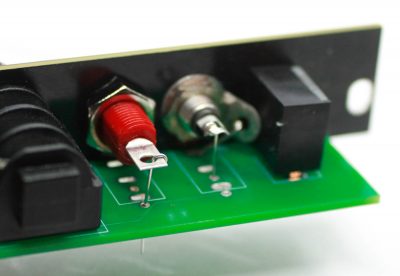
Hook the resistor lead to the grounded connection as shown below and solder in place.
Connect the other resistor lead to the voltage pin as shown below and solder in place.
Optional Banana Jacks
Banana jacks do not have a ground connection. Secure the banana jack to the panel as shown below and solder a hooked resistor lead to the voltage connection.
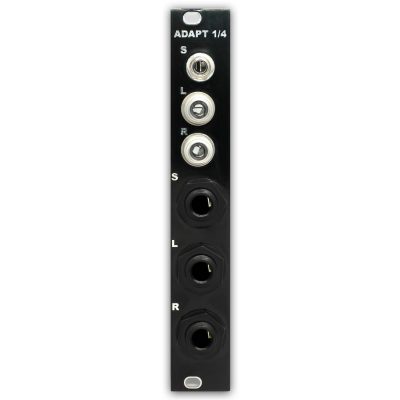
Final Project!
The final build will look different depending on which jacks you use. You are now ready to ADAPT your signals to your desired (or needed!) jack.


